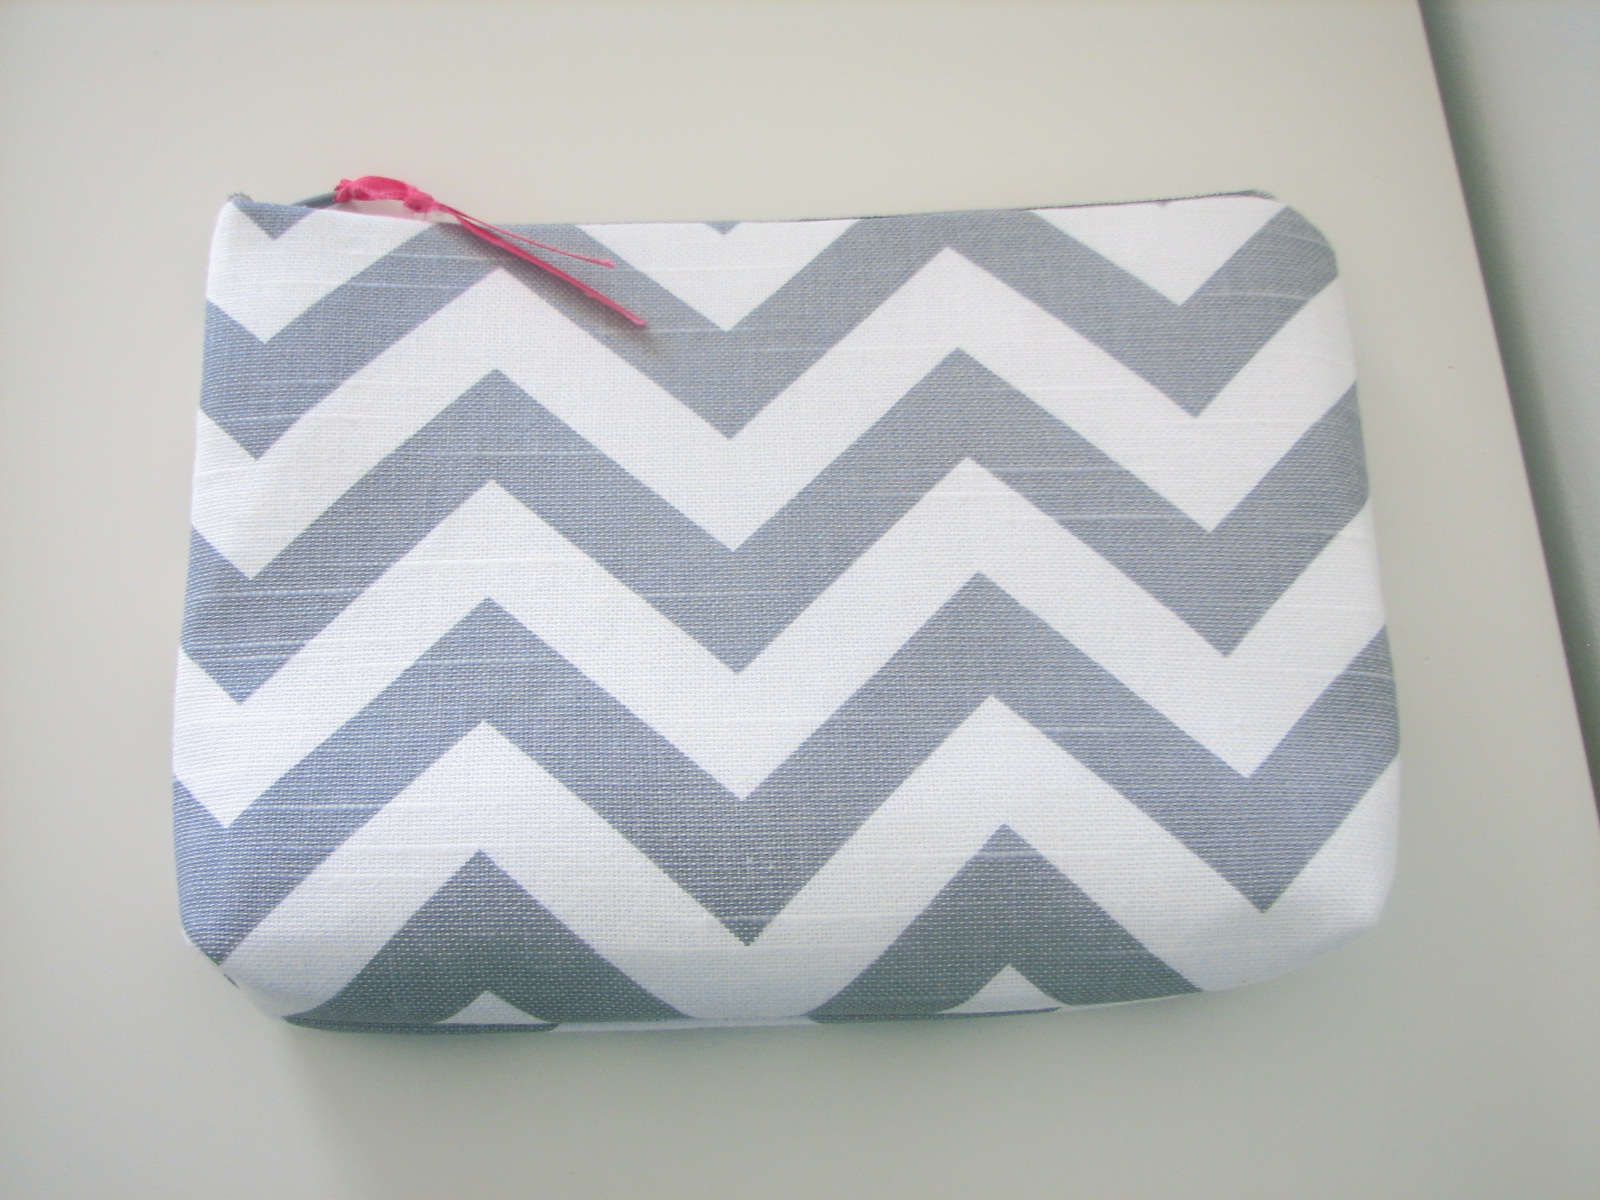
I'm always on Anthro's website getting inspired, making purchases, or just good ol' fashioned window shopping. When I came across the Mountain peak cosmetics bag it really caught my eye. I loved how simple, clean, and airy it looked. I was almost tempted to purchase it but when I stumbled on some similar fabric over at Drygoods Design Online I thought, why not make my own?
And then I got carried away... : )
It was so simple and fun to make that I decided to create a tutorial for it!
-------------------------
Cosmetics Bag Tutorial
What you will need:
2 -10 1/2" w x 8" h outer pieces of fabric
2- 10 1/2" w x 8" h lining pieces
2- 10 1/2"w x 8" h sturdy interfacing
1- 9 inch zipper
1- 6" piece of ribbon
Zipper Foot
STEP 1:
Fuse your interfacing to the back of the outer piece of fabric. Repeat for the other outer piece. (mine was a sew-in interfacing so I sewed mine on)
Step 2:
Place one of your lining pieces right side up and pin the zipper right side up, to the top edge of your lining and stitch all the way across using your zipper foot. Stitch relatively close to the teeth of the zipper. Repeat for other piece of lining.
Step 3:
With one of the outer pieces right side up, place one side of the zipper right side down, lining up the edges. Pin and stitch across, trying to stitch on top of the same stitch used to sew the zipper to the lining. Repeat with other side.
Step 4:
Open the pieces. The lining pieces should be right sides together on one side of the zipper and the outer pieces should be right sides together on the other side. Pull the zipper open half way. Pin and stitch along all three sides leaving the bottom of the lining open. Trim the zipper and edges if needed.
Step 5:
Reach your hand through the opening of the bag and grab the corner to flatten it forming a triangle. Once you have decided how wide you want the bottom of your bag to be, stitch across the triangle you just formed. Repeat for the other side.
Step 6:
Turn right side out through the opening of the lining. Carefully push the corners out. Top stitch the lining to close and press.
You're all done!!! A very simple and quick project for your jet setting adventures!
Linking this up to Mommy by day Crafter By Night


Wow this is amazing! Love the chevron pattern too :-)
ReplyDeleteA Girl's Next Best Friend
All of them are so darling! Love love love the chevron :) Thanks for stopping by my blog.
ReplyDeleteThese turned out really nicely. Love your choices in fabric. Now following your fabulous blog xx Ava
ReplyDeleteOoh, I want to try this! I pinned and tweeted it, so cute.
ReplyDeleteOmg your blog is amazing. I am so inspired by your talent. I have always wanted to sew. But now i can view your blog and it can help me out. please let me know how i can sub i dont see a button. Also thanks so much for showing love on my blog.xxx
ReplyDeletehttp://www.infiniteaddiction.com/
This is a really cute cosmetic bag and a wonderful tutorial. Thanks for sharing!
ReplyDeleteThese turned out so beautifully! I wish I could sew...
ReplyDeleteThe colors are lovely on each of these, wonderful bags!
ReplyDeleteThanks for visiting my blog and leaving a comment. :)
You have the cutest header! :-)
ReplyDeleteThanks for the tutorial, that will come in handy (one of these days when I finally get time to spend)! :-)
I love this!
ReplyDeleteAnd I too think you have a cute header!
Thanks for the tutorial - I'm a new follower, so glad I've discovered your blog, always looking for new projects to try out...
ReplyDeleteI LOVE this fabric! And the bags are beautifully finished.
ReplyDeleteAnd I just realised that yours is the top picture. I much prefer yours to the inspiration.
ReplyDeleteThis is such a cute bag! I really love these patterns popping up everywhere. I would love for you to link your post up at my Savvy HomeMade Monday blog party at http://www.homesavvyatoz.com/blog-party-5/
ReplyDeleteI also see that you started blogging in the last year. I have a Freshman Friday Party starting this week with helpful tips for new bloggers getting started and a way to shamelessly promote your new site! I would love for you to attend!